Linux+Apache の認証で Azure Active Directory を利用する
年末からに引き続き、Microsoft テクノロジ on Linux の露払いを行いたいと思う。今回紹介したいのは掲題の通り、Azure Active Directory を Apache の認証に利用する方法だ。
Azure Active Directory は他クラウドと Microsoft Azure の明確な差別化機能であり、本機能を利用することで SSO が容易に実現できることはいたるところのドキュメントで見かけるだろう。だが、大多数のケースとして Windows Server と Linux サーバが混在しているのが現実であり、Windows Server や Windows クライアントの例だけを見せられても「Linux サーバや Mac OS が混在している現状だと利用できないんじゃない?」とお嘆きの方が多いだろう。
そんな疑問に答えるために記載するのが本トピックだ。今回の記事で利用する機能は PAM 経由で Node.js 上で実行可能な Allows Linux user authentication to Azure AD via pam_exec であり、本機能を利用することで Apache に限らず様々な Linux 上で稼働するソフトウェアでの認証を Azure Active Directory で行えることが理解できると思う。GitHub のサンプル使った例が SSH ばかりだが、実地だと違うだろうなぁと思い、今回の記事を作成した。。。。
Azure Active Direcotry ディレクトリの設定
管理ポータルから以下の Azure Active Directory ディレクトリを作成する。
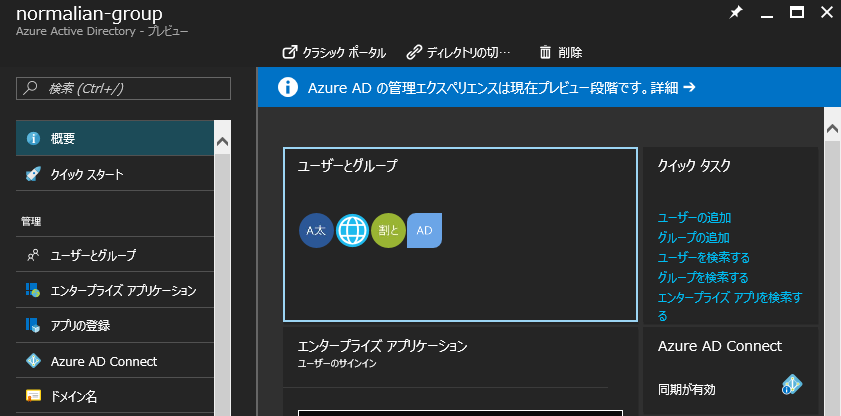
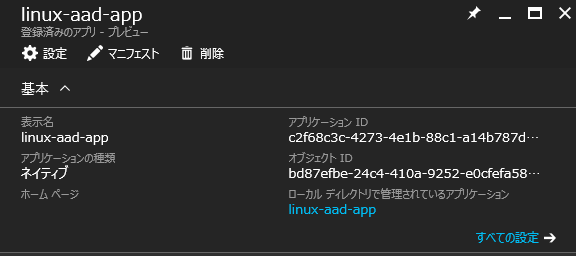
作成したディレクトリに Node.js が呼び出すためのアプリケーション情報を登録する。作成した Azure Active Directory のディレクトリから [アプリ登録]-[追加] を選択し、以下の要領でアプリケーション登録する。
以下のように登録されていれば問題ない。
更に、Azure Active Directory のディレクトリから [ユーザーとグループ]-[すべてのユーザー]-[追加] を以下の様に作成する。今回は以下の様に addstestuser@<自分のドメイン名>.onmicrosoft.com としてユーザを作成する。
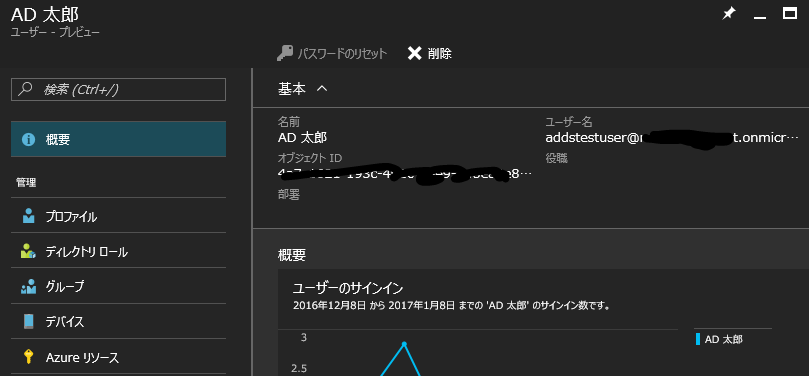
ユーザ作成直後に一時パスワードが発行されるので、本記事の検証で利用する前に一度ブラウザでログインしてパスワードを再設定が必要となるので注意してほしい。
Linux 仮想マシンの設定
Linux の仮想マシンに接続し、以下の様に npm, nodejs, git をインストールして Azure AD 用の Node.js モジュールインストールし、/opt/aad-login/aad-login.js に作成した Azure Active Directory のディレクトリ名とアプリケーションIDを入力する。
[azureuser@xxxxxxxx ~]$ sudo su -
[root@xxxxxxxx ~]# yum install -y epel-release
[root@xxxxxxxx ~]# yum install -y npm nodejs git
[root@xxxxxxxx ~]# git clone https://github.com/bureado/aad-login
[root@xxxxxxxx ~]# mkdir -p /opt/aad-login
[root@xxxxxxxx ~]# cd aad-login/
[root@xxxxxxxx ~]# cp aad-login /usr/local/bin/
[root@xxxxxxxx ~]# cp aad-login.js package.json /opt/aad-login/
[root@xxxxxxxx ~]# cd /opt/aad-login/
[root@xxxxxxxx ~]# npm install
[root@xxxxxxxx ~]# vi aad-login.js
[root@xxxxxxxx ~]# head -n 10 /opt/aad-login/aad-login.js
/*
  aad-login.js
  Requests a token from Azure AD using username/password

  Available under the Apache 2.0 License
*/

// Configuration parameters
var directory = '<自分のドメイン名>.onmicrosoft.com';
// Azure AD ポータル上に登録したアプリのアプリケーションID
var clientid  = 'xxxxxxxx-xxxx-xxxx-xxxx-xxxxxxxxxxxx';
また、管理ポータルで登録したユーザを NSS で利用可能にするため以下のコマンドを実行する。ユーザ名は適宜変更すること。
[root@xxxxxxxx ~]# useradd -m addstestuser
次に Apache のインストールと設定を行う。authnz_external.conf にて "/" 以下全てに外部認証が必要なことを設定し、/etc/pam.d/pwauth で Azure AD に認証を移譲することを設定している。以下は BASIC 認証だが、パスワードが平文で送付されるため、本番環境に適用する場合はコメントで記載が SSL の有効化を行う等の対応をしてほしい。
[root@xxxxxxxx ~]# yum -y install httpd mod_authnz_external
[root@xxxxxxxx ~]# vi /etc/httpd/conf.d/authnz_external.conf
[root@xxxxxxxx ~]# cat /etc/httpd/conf.d/authnz_external.conf

LoadModule authnz_external_module modules/mod_authnz_external.so

DefineExternalAuth pwauth pipe /usr/bin/pwauth

#
# see also: http://code.google.com/p/mod-auth-external/wiki/ConfigApache22
#

<Location "/">

        # Require SSL connection for password protection.
        # SSLRequireSSL

        AuthType Basic
        AuthName "Staff content"
        AuthBasicProvider external
        AuthExternal pwauth
        require valid-user

</Location>
[root@xxxxxxxx ~]# vi /etc/pam.d/pwauth
[root@xxxxxxxx ~]# cat /etc/pam.d/pwauth
#%PAM-1.0
auth       sufficient   pam_exec.so expose_authtok /usr/local/bin/aad-login # この行を追加
auth       include      password-auth
account include password-auth以下を設定した後、Apache 起動の設定と SELinux を無効に設定し、OS を再起動する。`
[root@xxxxxxxx ~]# systemctl enable httpd
[root@xxxxxxxx ~]# vi /etc/selinux/config
[root@xxxxxxxx ~]# head -n 7 /etc/selinux/config

# This file controls the state of SELinux on the system.
# SELINUX= can take one of these three values:
#     enforcing - SELinux security policy is enforced.
#     permissive - SELinux prints warnings instead of enforcing.
#     disabled - No SELinux policy is loaded.
SELINUX=disabled
[root@xxxxxxxx ~]# reboot
上記の設定後、作成した Linux 仮想マシンの Apache にアクセスすると以下のように認証情報を求められる。
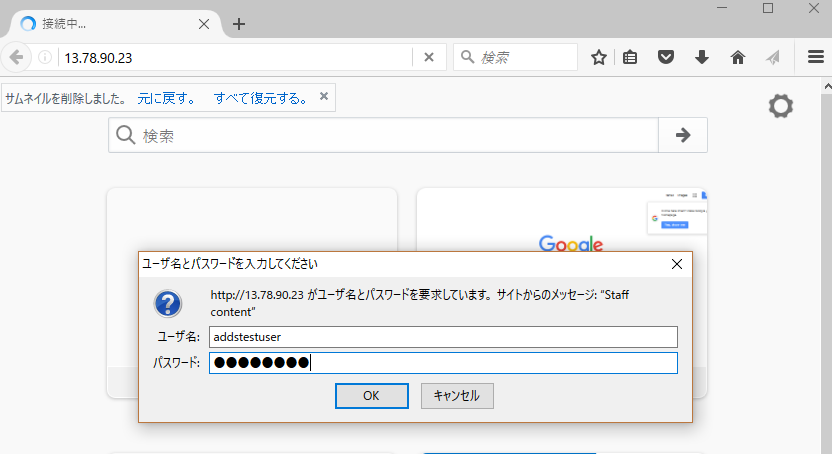
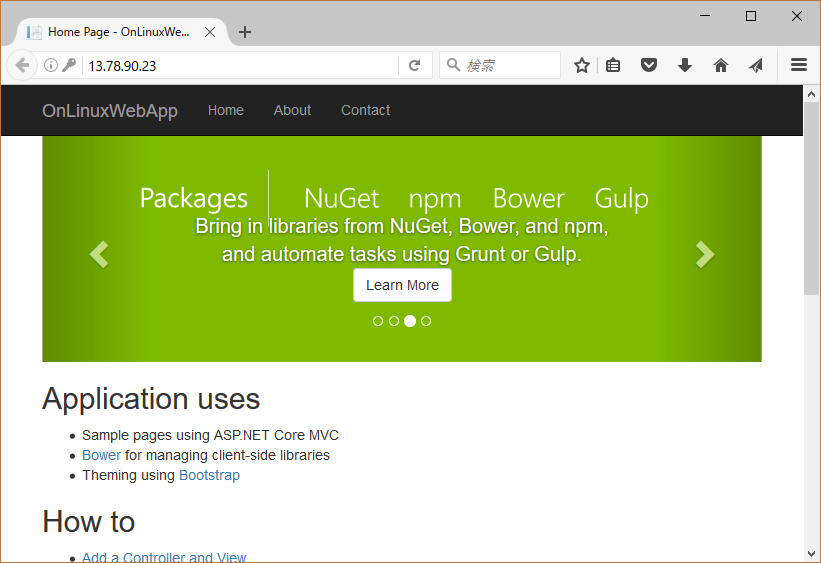
設定したユーザ名とパスワードを入力後、今回は ASP.NET Core アプリの起動を設定済みなので以下のような Apache の画面が表示される。
