How to create your own Azure Active Directory tenant
You sometimes want to create own tenant when you try to use Azure AD authentication or "School or Work Accounts" independently with your organization Azure AD tenant. Especially, you will really want to create it when you will be in charge of some PoC using Microsoft Azure. You can learn how to create your own Azure Active Directory tenant in this post.
Step by step to create new tenant in Azure portal
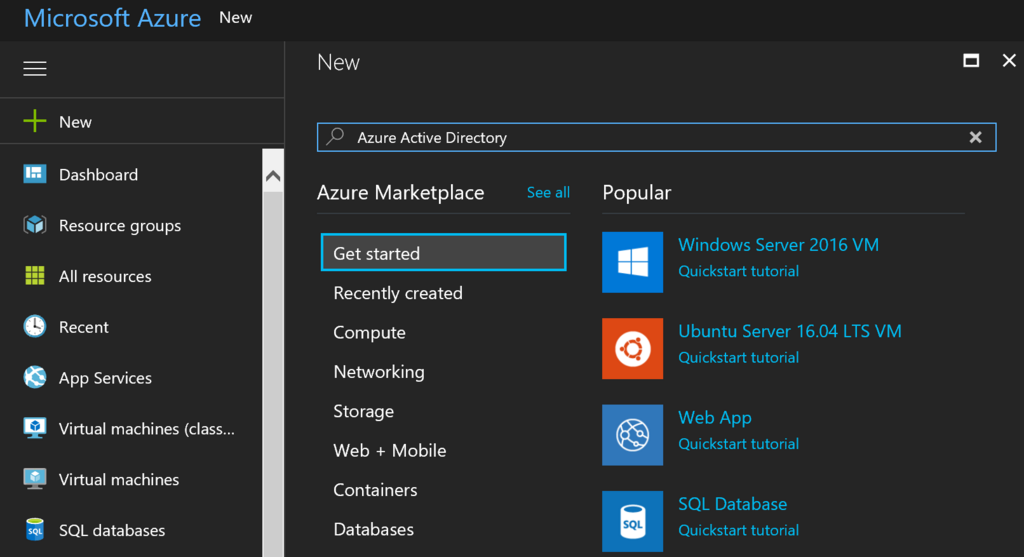
Please click "+ New" button in left side of Azure portal and input "Azure Active Directory" like below.

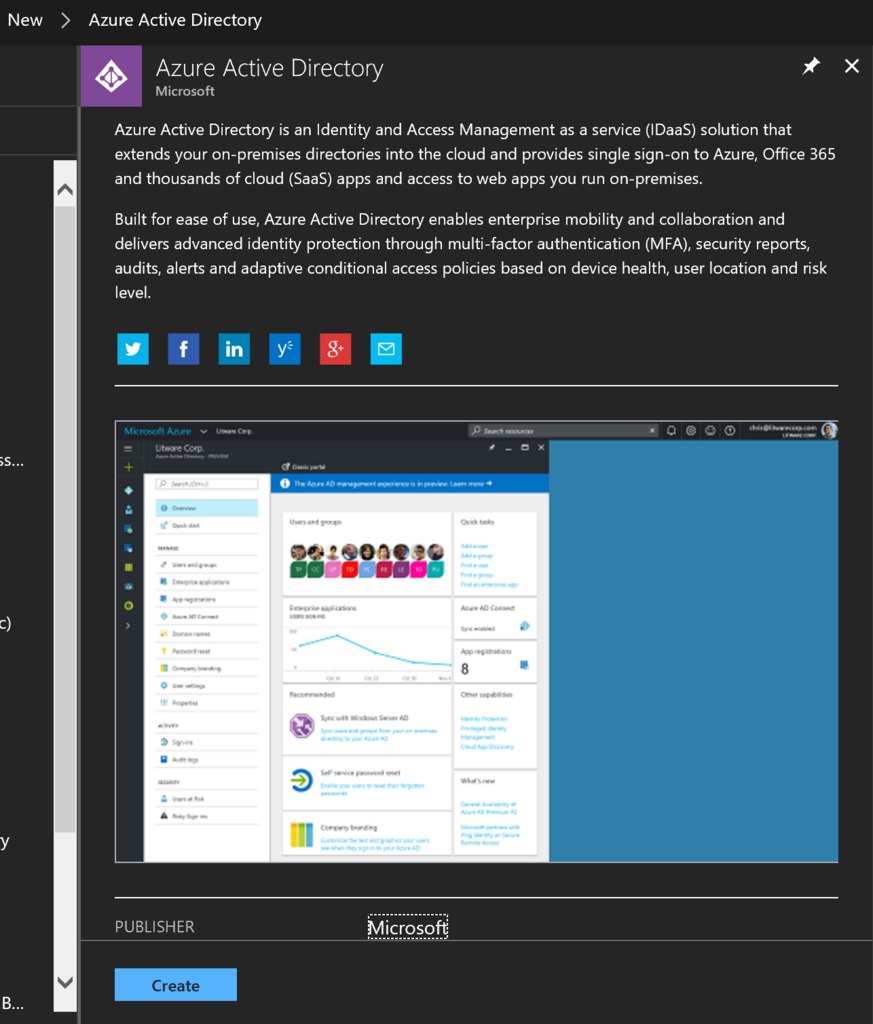
You can find "Azure Active Directory" by Microsoft like below, and please click "Create" button.

Input your organization name and domain name, equal "tenant name", and choose your region.

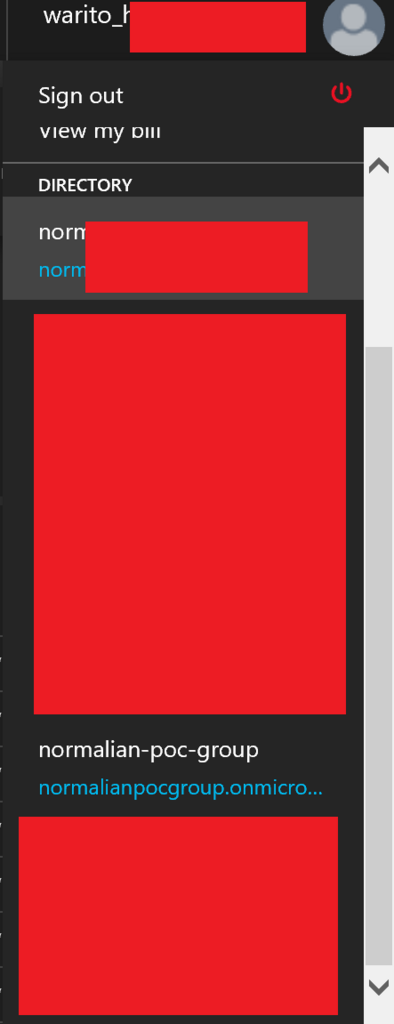
After a few minutes later, you can find your new tenant from upper-right like below.
