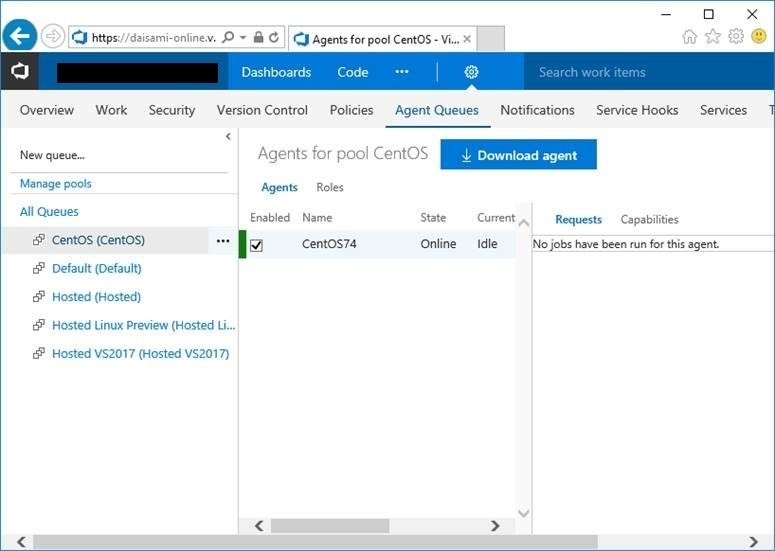
How to setup your CentOS VMs as VSTS Private Agent
VSTS is really powerful tool and you can use compute resources from cloud, but you will sometimes want to use your own custom libraries or executable files in you build processes. You can use Private Agent for such cases. In this post,
I will setup private agent with CentOS VM, but please note VSTS offers some platforms agents like below and CentOS isn't supported right now.
Step by Step to setup Private Agent
Follow below three sections.
1. Create new pool in VSTS portal
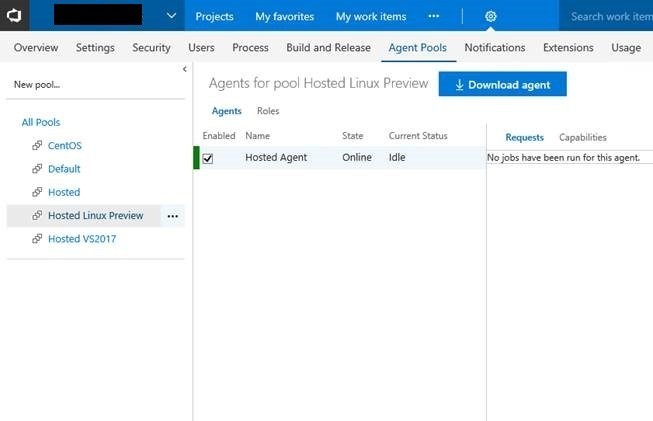
Go to “Agent Pools” tab in your VSTS and click “New pool…”.
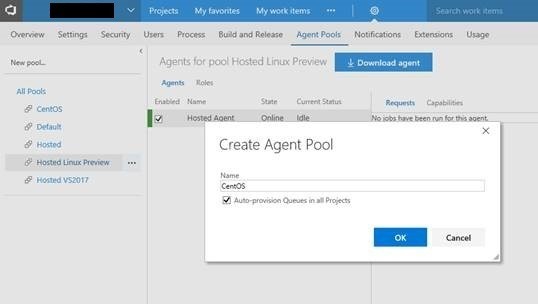
Input Agent pool name as you need. I recommend to name for each uses.
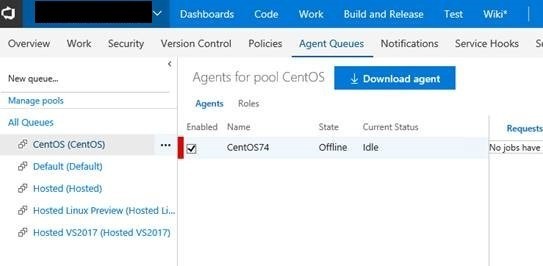
Download agent package from your agents pool like below.
2. Create new “Personal access tokens” in VSTS portal
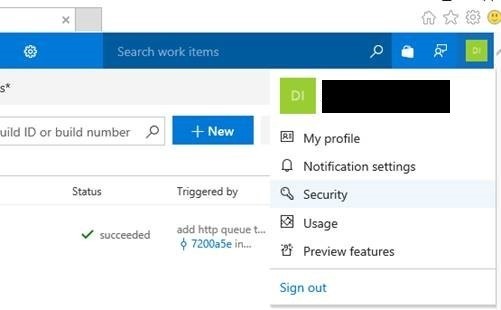
Choose “Security” from your account setting.
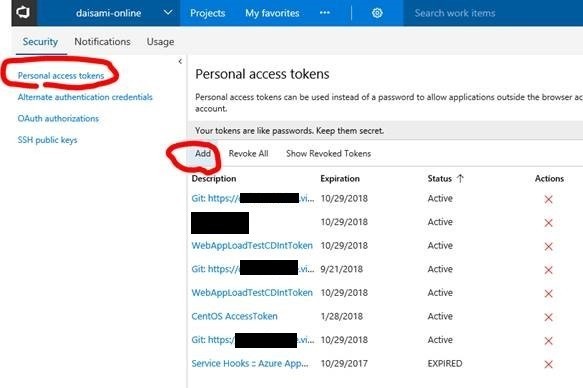
Create new “Personal access tokens”.
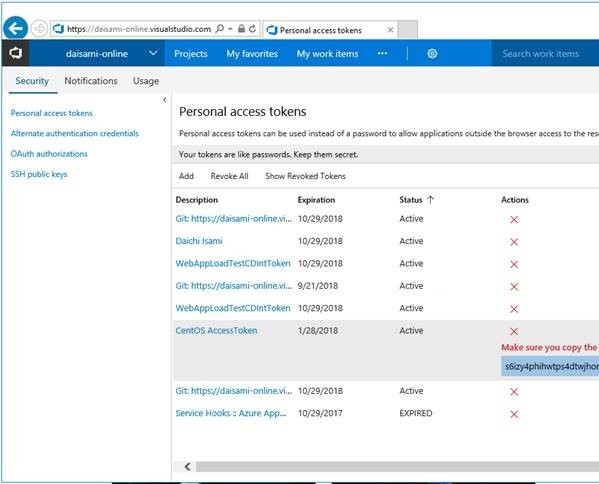
Keep access token from VSTS portal. The value never show without at the time.
3. Setup agent in your VM
Transfer agent package into your VM and extract data. I executed below commands.
# be root
sudo su -

# I have to install below pakcages into your CentOS VM, because VSTS agent offers RedHat but not CentOS
yum install centos-release-dotnet.noarch
yum install rh-dotnetcore11-dotnetcore.x86_64

# setup agent
mkdir /opt/agent
mv vsts-agent-rhel.7.2-x64-2.123.0.tar.gz /opt/agent
tar zxvf vsts-agent-rhel.7.2-x64-2.123.0.tar.gz
chown -R azureuser /opt/agent/

cd /opt/agent/
./config.sh
./run.sh
Your instance will be registered after “./config.sh” execution. You have to execute “./run.sh” to maintain “Online” status.
